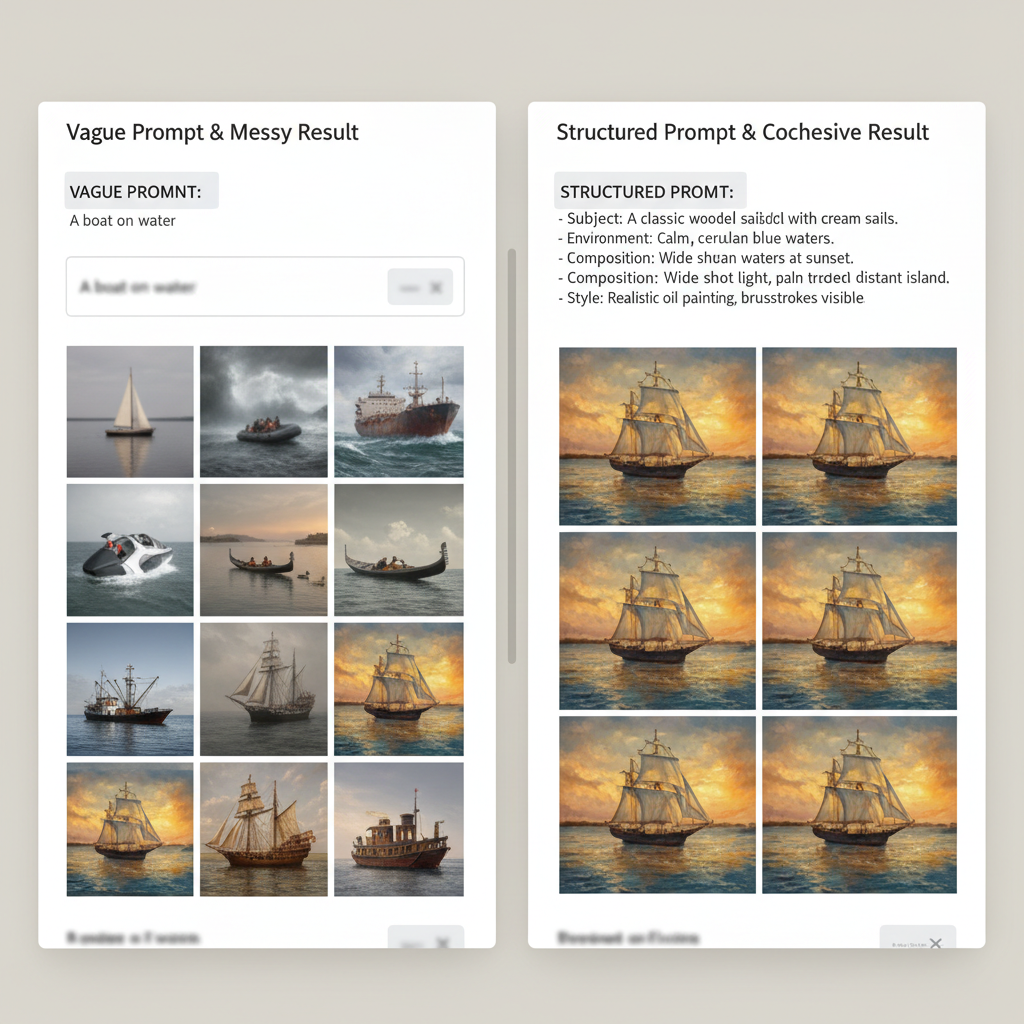
how to write midjourney prompts is less about “being poetic” and more about being specific in the right places, so Midjourney can make fewer guesses and you get fewer throwaway results.
If your images keep coming out off-style, with weird hands, wrong text, or random compositions, it usually isn’t because Midjourney is “bad”, it’s because the prompt leaves too many open doors. The good news, prompt writing is a skill you can build fast once you know what the model responds to.
This guide gives you a repeatable structure, a quick self-check, and practical examples you can steal and adapt, plus a small table of “what to change when results go wrong.”
What Midjourney “listens to” in a prompt
Midjourney tends to prioritize a few things in a fairly consistent way: the main subject, the scene context, the visual style, and then constraints you set via parameters. When those pieces conflict, you often see “model compromise” images that feel vague or messy.
According to OpenAI, clear instructions and concrete constraints usually reduce ambiguity in generative outputs, and the same general idea applies when you prompt image models, you want fewer interpretations and more direction.
- Subject clarity: who/what is in the image, plus notable attributes.
- Composition: camera angle, framing, and what must be in view.
- Style cues: photo vs illustration, era, brand-like look, medium.
- Lighting and color: mood, time of day, palette.
- Constraints: aspect ratio, stylization, negative space, “no text”.
A simple prompt formula that works in most cases
If you want a dependable starting point, use this order. You can write it as one sentence or a few comma-separated phrases, the model doesn’t need perfect grammar, it needs clear signals.
The 6-part structure
- Subject: the core thing you want.
- Context: where it is, what’s happening, what it’s for.
- Composition: close-up, wide shot, top-down, centered, rule of thirds.
- Style: product photo, editorial, 3D render, watercolor, flat vector.
- Lighting + color: soft daylight, dramatic rim light, muted palette.
- Parameters: aspect ratio, stylize, seed, quality.
Example template: “Subject, context, composition, style, lighting, color palette, background details, constraints, parameters.”
How to write midjourney prompts: practical examples you can adapt
Here are patterns that translate well across use cases. Notice how each prompt forces decisions on framing and style, so results stay consistent.
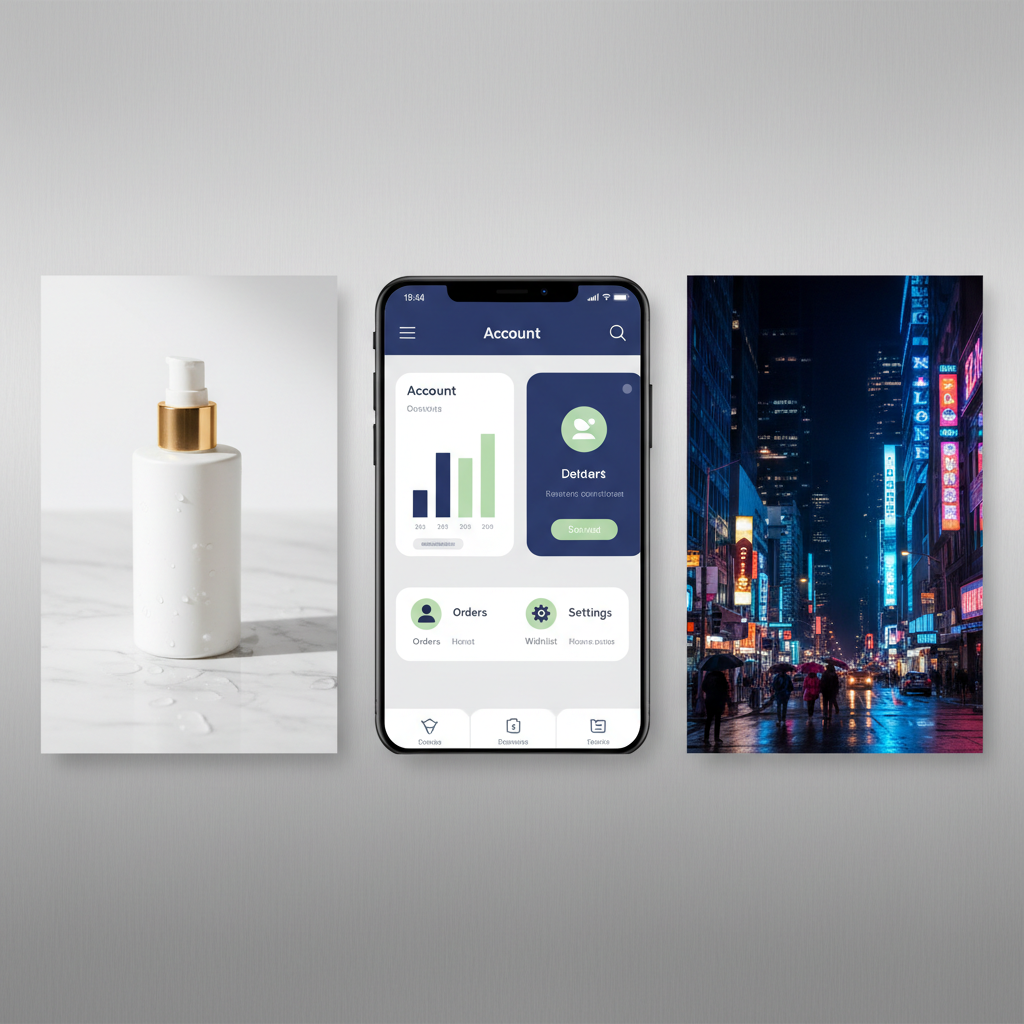
1) Product-style image (ecommerce or landing page)
Prompt: “Minimalist product photo of a matte black insulated water bottle on a light concrete surface, centered composition, 50mm lens look, soft diffused daylight, subtle shadow, high-end editorial style, neutral gray palette, no text, no logos --ar 3:2 --stylize 100”
2) Brand illustration (website hero)
Prompt: “Modern flat vector illustration of a remote team collaborating on a kanban board, diverse characters, clean geometric shapes, generous negative space on the right for headline, tech brand style, teal and navy palette, crisp lines, no small text --ar 16:9 --stylize 250”
3) Cinematic scene (content marketing)
Prompt: “Cinematic wide shot of a rainy downtown street at night, neon reflections on wet asphalt, shallow depth of field, moody color grading, 35mm film still aesthetic, high detail, pedestrians as silhouettes, no readable signage --ar 21:9 --stylize 200”
4) Consistent character (early-stage approach)
Character consistency can be tricky. If you’re early in the process, prioritize stable descriptions over fancy prose.
- Prompt: “Portrait of a friendly female barista, late 20s, short curly dark hair, warm smile, freckles, green apron, cozy coffee shop background softly blurred, natural window light, candid editorial photo --ar 4:5 --stylize 75”
- Then iterate with small changes: “same subject, different angle”, “same outfit, outdoor light”.
Parameters that matter most (and what they change)
Many people try to fix everything with more adjectives, but parameters often do more work with less chaos. If you’re learning how to write midjourney prompts, treat parameters as your “control panel.”
Quick parameter cheat sheet
- --ar: aspect ratio, affects layout and composition possibilities.
- --stylize: how strongly Midjourney pushes its aesthetic, lower is more literal.
- --seed: helps keep variations closer when you want controlled iterations.
- --quality: may change render effort and time, use thoughtfully for final picks.
If you’re troubleshooting, adjust one control at a time. When you change subject, style, lighting, and parameters together, you can’t tell what fixed the issue.
A fast self-check before you hit enter
This is the part most people skip. A 15-second check often saves 15 minutes of rerolls.
- Can you underline the main subject in one short phrase?
- Did you specify shot type (close-up, wide, top-down) and framing?
- Is the style explicit (photo, vector, 3D, watercolor), not implied?
- Did you define lighting and a simple palette?
- Did you include at least one constraint (“no text”, “plain background”)?
- Are you asking for readable text? If yes, expect it to be unreliable and plan an edit later.
Troubleshooting table: what to change when results look wrong
When outputs miss the mark, the fix is usually a small prompt correction, not a full rewrite. Use this table like a diagnostic map.
| Problem you see | Likely cause | Try this prompt change |
|---|---|---|
| Subject looks “generic” | Too few concrete attributes | Add 2–3 specifics: material, age, era, distinctive features |
| Style keeps drifting | Mixed style cues | Pick one medium and one reference style, reduce extra adjectives |
| Composition feels random | No framing instructions | Add camera framing: “centered”, “top-down”, “wide shot”, “close-up” |
| Too busy / cluttered | Background unspecified | Request “minimal background”, “negative space”, or a plain studio setup |
| Text is garbled | Model limitation | Avoid text, or keep it as “blank sign” then add typography in design tools |
| Hands/objects look odd | Complex anatomy, ambiguity | Simplify pose, reduce fingers in view, try tighter crop or different angle |
Hands-on workflow: iterate without losing your mind
A repeatable workflow matters more than a “perfect” first prompt. When people learn how to write midjourney prompts, the real upgrade comes from controlled iteration.
A practical iteration loop
- Draft one prompt using the 6-part structure, keep it plain.
- Lock the basics: subject, medium, aspect ratio.
- Change one variable per reroll: lighting, camera angle, background, palette.
- Promote winners: when you get a good composition, refine details instead of starting over.
- Save a prompt library: keep 10–20 prompts that match your brand look, reuse them.
Key takeaway: if you can’t describe the difference you want in one sentence, Midjourney probably can’t guess it reliably either.
Common mistakes (and the quiet fixes that work)
- Mistake: stuffing the prompt with 25 adjectives. Fix: choose one style anchor, then add 3–6 high-signal details.
- Mistake: asking for “logo design” or “exact typography” inside Midjourney. Fix: generate the visual concept, finish type and vector work in a design tool.
- Mistake: chasing realism while using illustration cues. Fix: decide “photo” or “illustration” early, don’t mix unless you truly want hybrid.
- Mistake: ignoring usage context. Fix: mention where it will live, like “website hero with empty space on left.”
Conclusion: a prompt is a set of decisions, not a sentence
If you treat prompting like decision-making, subject, framing, style, lighting, constraints, you’ll get more consistent results and you’ll waste less time “hoping” a reroll understands your intent. Pick one prompt structure, run the self-check, then iterate one variable at a time.
Try this today: take one image you like, rewrite its prompt using the 6-part structure, then make three controlled variations by changing only lighting, then only camera angle, then only palette.
If you want, paste one of your current prompts and tell me what’s going wrong, I can suggest a tighter rewrite and which parameter to adjust first.